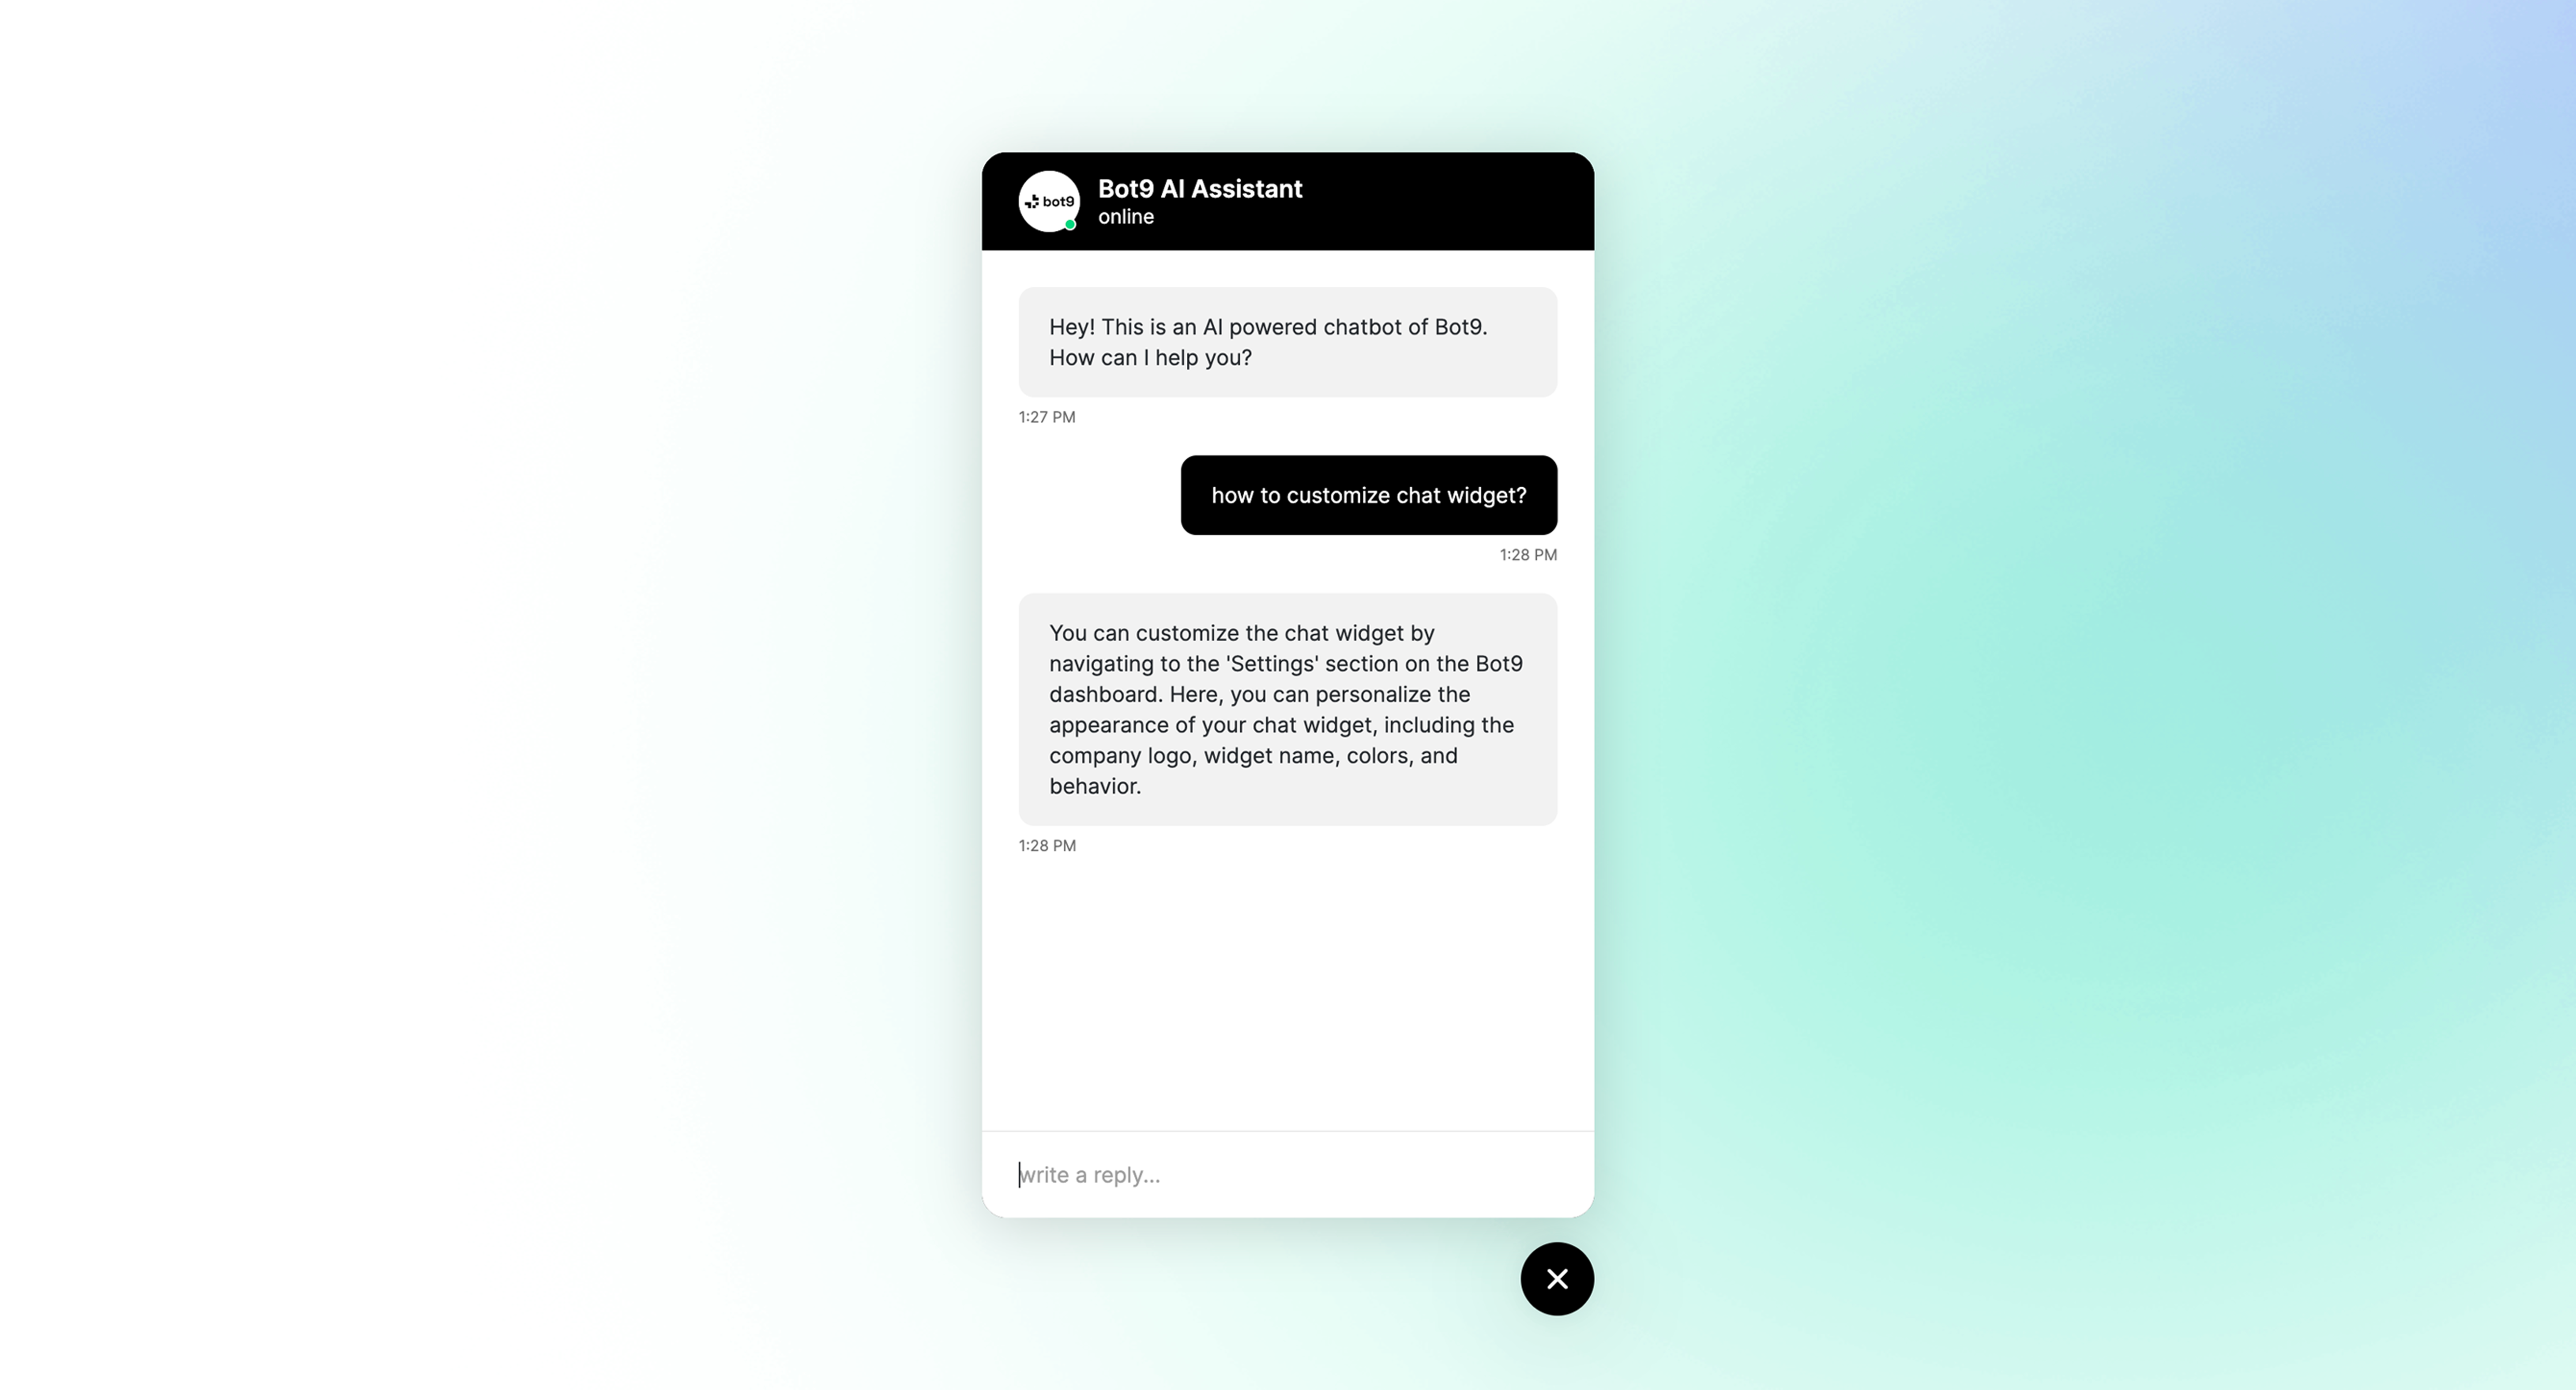
How to Use the Website Chat Widget
Bot9 offers a live chat widget for your website, allowing customers to receive immediate responses to their queries through a chatbot.

Here’s how to get started:
How to use or customize live chat widet
First, navigate to the 'Integrations' section on the left-hand menu. Find Chat Widget integration and click on Customize option. A widget customisation screen will then appear, here you can personalize your chat widget's appearance.
You can upload your company logo and adjust the widget's name to match your brand. Customize the colors for the background, user text, and hyperlinks to align with your website's design.
Next, set the behavior of your widget, such as its position on the page and the default state when a user visits your site. You can also edit the welcome message to greet your visitors.
A confirmation message will then appear, indicating that your changed have been updated successfully.
Note that all the changes you're making here gets saved automatically, so you don't have to press any button to save the changes you've made.
Now, let's understand how to integrate the widget into your website.
How to use or integrate live chat widet on your website
First, navigate to the 'Integrations' section on the left-hand menu (if you are on any other page of the dashboard).
Then find Chat Widget integration and click on 'Integrate' button. You'll then see various integration options, including JavaScript, WordPress, Shopify and others, along with the detailed steps of the integration process.
For this example, we'll use the JavaScript method. Simply click 'Copy code' to copy the widget script to your clipboard.
Next, open your website's code editor.
Paste the copied script just before the closing body tag of your HTML.
Save your changes and view your website. You should now see the chat widget appear in the position you've set. Test the widget by sending a message to ensure it's working correctly.
Whether you're working with an e-commerce giant like Shopify, a dynamic web application using NextJS, or any other platform, our AI can seamlessly become a part of your digital experience.
FAQs
Q: Can I change the widget’s position on my website?
A: Yes, you can select your preferred position from the ‘Widget Position’ dropdown menu in the ‘Customize Widget’ section.
Q: How can I change the widget colors?
A: Navigate to the ‘Primary Background Color’, ‘Bot Text Background Color’, etc., to choose your colors.
Q: What is the default state of the widget when someone visits my website?
A: You can set the default state to ‘Open’ or ‘Closed’ in the ‘Customize Widget’ section.
Q: How do I know if the widget has been installed correctly?
A: Once installed, visit your website. The chat widget should appear in the designated position. If it doesn't, check the code snippet was placed correctly and clear your browser cache.
Q: Can I use the widget on multiple websites?
A: Yes, you can use the same code snippet across multiple websites.
Q: Is there a way to preview the widget before going live?
A: Yes, you can preview changes in the ‘Test your bot’ section before applying them to your website.
Q: What should I do if the widget isn't working?
A: Double-check the code snippet for any errors, ensure it's placed right before the </body> tag, and clear your browser cache. If problems persist, contact support.
For further assistance, visit our help center or chat with us.
We’re here to help!
